Ever wondered how to keep your garden watered more efficiently while still using captured rain water? Setting up a low-pressure watering system (a soaker hose system) is a great way! Below are some important tools you’ll need and the steps you can take to ensure a well-functioning system.
Tools & Materials
- Plastic or metal stakes
- Soakerhose – pre-measure the path of the hose where you are going to lay it.
- Polytubing
- Filter to keep particles from clogging your soaker hose (recommended is 200 mesh).
- Water timer (can be installed later)
- Y connector with shut off, splitters, fittings
*Remember Rain Barrel Soaker Hose is intended for connection to a rain barrel faucet. Connecting it to a normal pressurized faucet may cause spraying and damage to the hose.
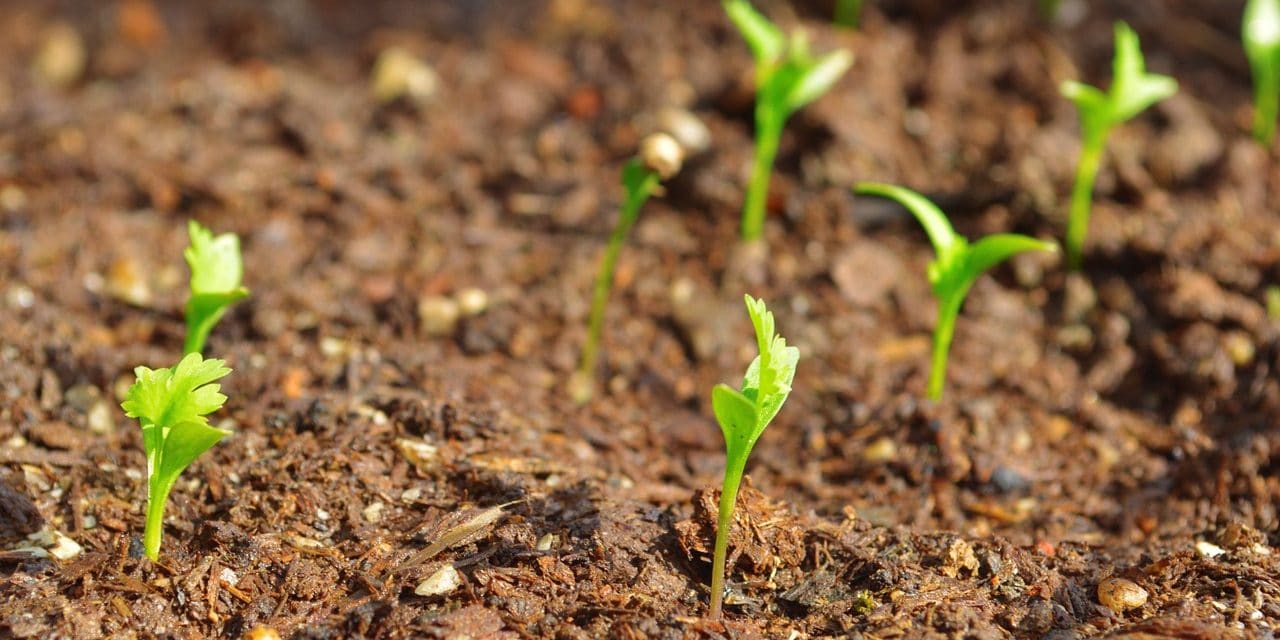
Lay Out the Hose in Your Garden Beds: Position soaker hoses throughout the garden near each plant within 6 to 12 inches of the base. On slopes, run across the slope, not up and down. In perennial beds, keep hoses about 18 inches (sandy soils) to 24 inches (clay soil) apart. For annual plants space the runs closer, 12-18 inches apart, to make sure water reaches their shallow roots. Stake the hose into place with stakes wherever it needs it to secure the hose’s position.

Hide the Hose: After testing the soaker hose to see that it waters the area well, you can cover it with 2 inches (or more) of mulch, such as wood chips, bark, leaves, or compost, or even decorative rocks. The mulch keeps water from evaporating and helps spread the water flow. It also helps protect the hose from the sun. Have you ever felt the temperature of water that was just sitting in a hose out in the sun? It’s hot! Can be used above or below ground. Soaker hose IS NOT for lawn areas.

Stakes: Use to secure soaker hose
Watering times: Start out by running your soaker hose for about 40 minutes once a week, or 20 minutes twice a week for sandy soils and annual plants and gardens that have shallower roots. The goal is to wet the soil in the plant’s root zone. You can tell if the plant is getting enough water by digging a hole with a trowel to see if the root zone is wet (wait a while after watering before you check, so the water has time to soak in). Leaves may droop a little on hot days but if they stay droopy after the hottest part of the day, they’re probably too dry. Drooping can also be a sign of over watering but again, check the soil first! Once you’ve got the timing figured out, attach and set a timer to the system. This will make it possible for the watering system to work even when you are on vacation.
Trees: Using a soaker hose encircle the tree with the hose beginning at the drip line. Add a circle of soaker hose every 2′ inward from the drip line throughout the root zone. Try to water the soil areas directly beneath the foliage and shaded by the tree. Do not water beyond the drip-line and do not water closer than 3 feet to the trunk base on established trees.
Hanging planters, pots and window boxes: Large, hard to move barrels, pots and window boxes will do better with a slow running soaker hose. Water regularly as the dry season goes on. Hanging plants may require watering more frequently as the wind and sun dry them out. During exceptionally hot weather (80’s or 90’s) hanging baskets may need watering daily, or even twice daily if the basket has limited soil area.
Maintaining Your Soaker Hose System: Once or twice a year, unscrew the end caps and flush out any accumulated sediment. Flushing it at the start of the year will help you check for leaks, and ensure that it’s not plugged. Make sure everyone working in the garden knows the soaker is there under the mulch, so they don’t accidentally damage it. Most cuts or nicks can be repaired with couplings. Soaker Hose is UV stabilized – won’t freeze in the cold or crack in the sun.
Check out the designs below to create your ideal soaker hose system:
A great layout for raised beds

Center Design
Bringing the water into the center will help with a more even water distribution. This design works well if your rows are rather long.

Constant Flow Design
This creates a constant flow of water, helping to provide a more even distribution of water.
Use Tees on the corners, in place of the elbows, and put a cap on one end of the Tee, so you can remove the cap to blow your system out. This is a closed system.

Center Design 2
Coming into the center of your design will help achieve a more even distribution of water. You can use the female fittings or install the soaker hose directly into the Tees.

Hill Design
Install soaker hose on a hill by laying your hose across the hill, rather than up and down the hill.

Easy Closed System
This system uses Female ends on both ends, screwed onto the tees for easy removal of the soaker hose, for tilling and winter storage. It is also a closed system.

For large-scale systems
